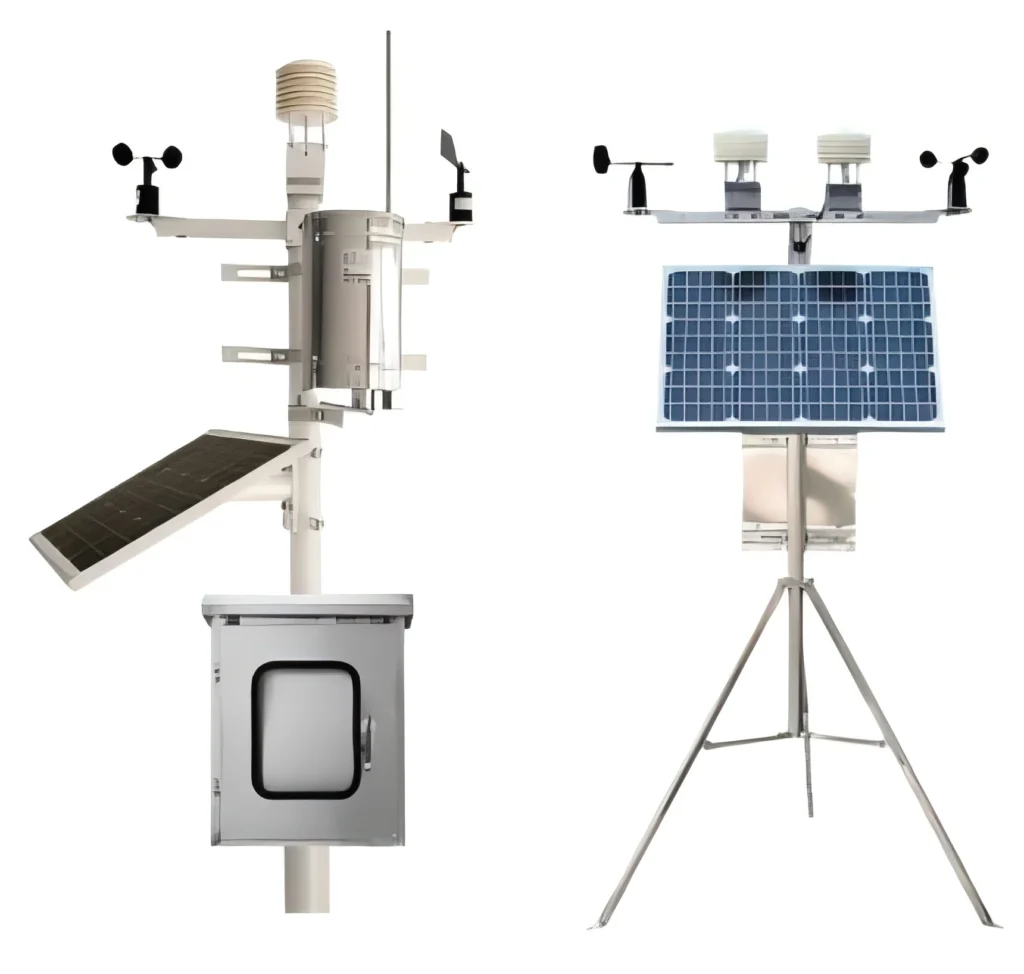
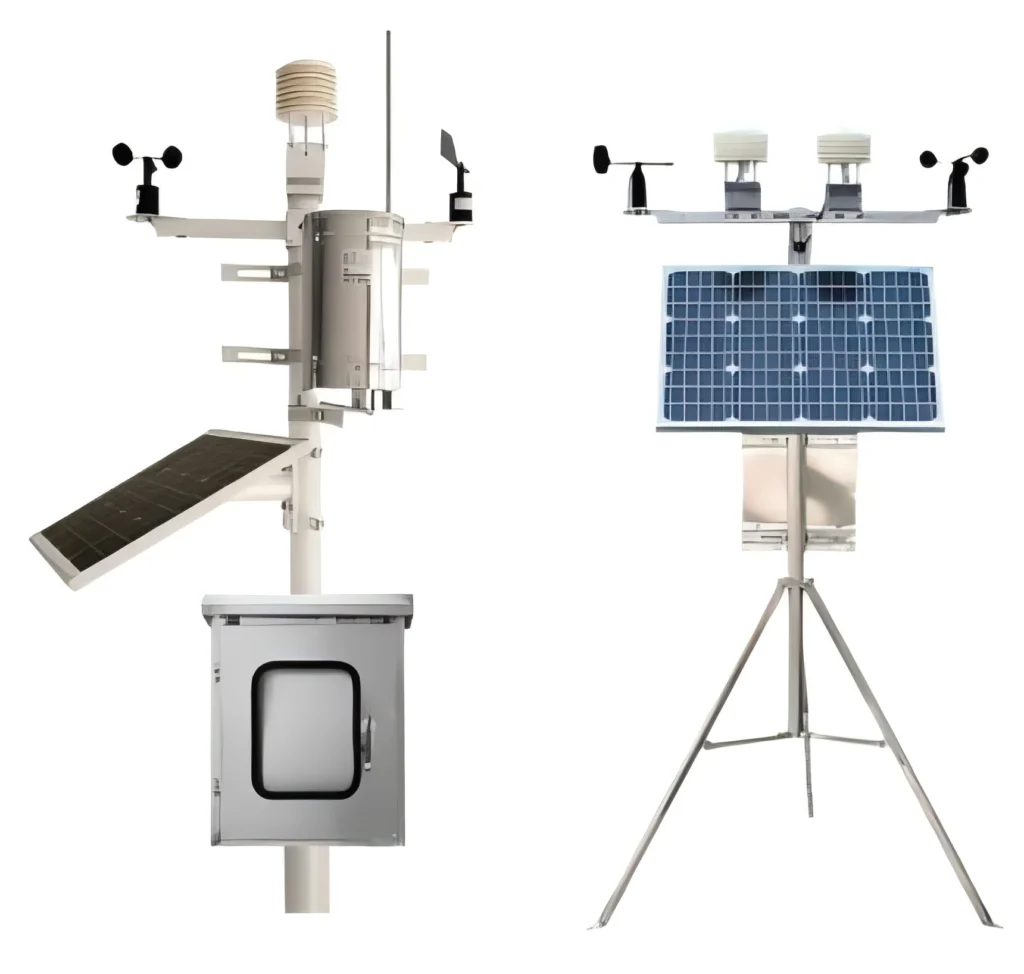
Acurite Weather Station Installation Guide

# Acurite Weather Station Installation Guide
Installing an Acurite Weather Station is a straightforward process that can provide you with accurate and reliable weather data right from your backyard. Whether you’re a weather enthusiast or just want to keep an eye on local conditions, this guide will walk you through the steps to get your station up and running.
## Choosing the Right Location
Before you start the installation, it’s crucial to select the right location for your Acurite Weather Station. The ideal spot should be:
– **Open and Unobstructed:** Ensure the area is free from tall buildings, trees, and other structures that could block wind or sunlight.
– **Level Ground:** Place the station on a flat surface to ensure accurate readings.
– **Away from Heat Sources:** Avoid areas near air conditioners, vents, or other heat sources that could skew temperature readings.
## Unboxing and Preparing Your Acurite Weather Station
Once you’ve chosen the perfect location, it’s time to unbox your Acurite Weather Station. Here’s what you’ll typically find inside:
– **Weather Station Console:** This is the main unit that displays all the weather data.
– **Outdoor Sensor:** This sensor collects data on temperature, humidity, and other weather conditions.
– **Mounting Hardware:** Includes screws, brackets, and other necessary items for installation.
– **User Manual:** Always refer to the manual for specific instructions related to your model.
## Installing the Outdoor Sensor
The outdoor sensor is the heart of your Acurite Weather Station. Follow these steps to install it:
1. **Assemble the Sensor:** Attach the sensor to the mounting bracket using the provided screws.
2. **Mount the Sensor:** Secure the bracket to a post, wall, or other stable surface. Ensure it’s positioned at least 5 feet above the ground for accurate readings.
3. **Check the Alignment:** Make sure the sensor is level and facing the correct direction as per the user manual.
## Setting Up the Weather Station Console
With the outdoor sensor in place, it’s time to set up the console:
1. **Place the Console:** Position the console indoors, preferably near a window for better signal reception.
2. **Insert Batteries:** Open the battery compartment and insert the required batteries. Make sure to follow the polarity markings.
3. **Power On:** Turn on the console and wait for it to sync with the outdoor sensor. This may take a few minutes.
## Calibrating Your Acurite Weather Station
Calibration ensures that your weather station provides the most accurate data possible. Here’s how to do it:
1. **Temperature Calibration:** Compare the station’s temperature reading with a reliable thermometer. Adjust the console settings if necessary.
2. **Humidity Calibration:** Use a hygrometer to check the humidity reading. Make adjustments as needed.
3. **Wind Speed and Direction:** If your model includes these features, ensure they are calibrated according to the user manual.
## Troubleshooting Common Issues
Even with proper installation, you might encounter some issues. Here are a few common problems and their solutions:
– **No Signal:** Ensure the outdoor sensor is within range of the console. Move the console closer if needed.
– **Inaccurate Readings:** Double-check the sensor placement and calibration. Make sure it’s not near any heat sources or obstructions.
– **Battery Issues:** Replace the batteries in both the sensor and console if they are low or dead.
## Maintaining Your Acurite Weather Station
Regular maintenance will keep your weather station in top condition:
– **Clean the Sensor:** Periodically clean the outdoor sensor to remove dirt and debris.
– **Check Batteries:** Replace batteries as needed to ensure continuous operation.
– **Inspect Mounting Hardware:** Ensure all screws and brackets are secure to prevent damage from wind or other weather conditions.
By following this Acurite Weather Station Installation Guide, you’ll be well on
Keyword: acurite weather station installation
